In the first article I wrote about my thought process when approaching Objective Marker based games. This time I’m going to be discussing scenarios with Loot Counters in play (Push & Loot for example).
You only need one more than your opponent
One of the main points that I was drilling in is that you don’t need to claim every objective. You just need to claim enough to win. Trying to claim too many objectives splits your forces up and unless your opponent also splits their forces up as well then they will be able to easily overwhelm you where they need to in order to secure the loot counters.
Of course if your opponent splits their forces up then you can concentrate your forces in the specific areas of their battleline that you need to in order to secure enough Loot counters.
Like in Objective marker games, I will decide at the start of the game how I will win. I will put loot counters into one of three pots, just like Objective Markers:
- Hold: I will secure and hold onto this loot counter by the end of the game.
- Deny: I will send a token force at this loot counter, either tying up enemy units there or forcing them to commit there. I don’t expect to win this one, but it’s a nice bonus if I do.
- Ignore: Trying to go after this loot counter will draw too many resources away from the main battle, so I will ignore it altogether.
This means that in the Loot scenario, I will be aiming to hold at least two of the three counters, while the other will be denied or ignored. I’ll actually rarely aim to hold all three counters, unless all three are compacted together, and instead concentrate on the two that I need in order to win. Again I find that splitting my forces up simply allows my opponent to overwhelm my separate, unsupported forces.
Denying Loot Counters
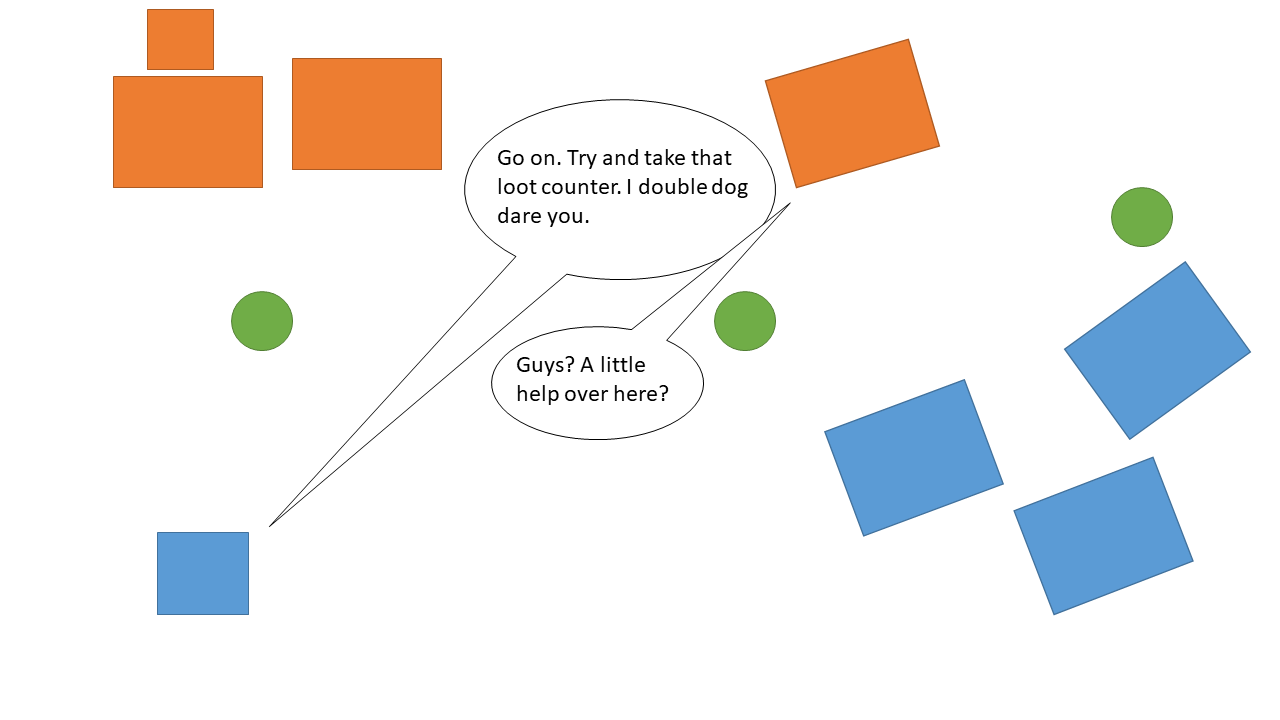
Unlike objective marker based scenarios, you can’t simply jump on a loot counter in the last turn to deny it. To deny a loot counter, you do have to put up something of a fight. The point is to tie the enemy up and bog them down so that they spend the entire game, or as close to it as possible, putting overwhelming force into the one loot token.
This can be achieved in several ways.
The most obvious way is with a bunch of tarpit units. High nerve, regeneration, ensnare – these are all good attributes to have in tarpits. In CoK17, Placoderms were the ultimate in tarpits and could keep an enemy trapped there the entire game. Naiad Ensnarers, particularly with the Dragonshard shield are another firm favourite. Move these units up and either advance over the top of or preferably just beyond the Loot counter you want to deny. Don’t pick up the loot counter.
When your opponent engages this unit, they will spend several turns (if not the entire game) trying to chew through it. If you’re carrying the loot counter and they destroy you then they automatically get it. If you’re stood over the top of or in front of a loot counter then they have to advance D6” forwards for their reform and may actually end up either overshooting the counter altogether or not reaching it and therefore not being able to pick it up with their advance. If it’s the last turn of the game that they finally had a breakthrough then great. If it’s not the last turn of the game then they have to spend yet another turn moving to pick the counter up.
If you can conveniently keep the enemy units attacking your tarpits bogged down in terrain, then don’t charge or counter-charge them. Every time they hit you, they’re hindered which further reduces the chances of them breaking your tarpits and picking up the counter. If you counter-charge them, then they can counter-charge you and avoid the hindered charge penalty.
The whole point of this tactic is to keep the enemy bogged down and putting a vastly disproportionate amount of force into your tarpit. The more force they put into this tarpit, the less they have to take or defend the other loot tokens.
Another viable tactic is to use threat projection to keep the enemy off a loot counter. If you have a fast, hard hitting unit that could easily charge the enemy but would eventually be overwhelmed (say they have several units lined up for a counter attack), then don’t charge! Sit outside their charge range. They have to make a difficult decision whether to advance towards you or not. If they do advance towards you then they may open up a charge to one of their support units allowing you to get behind their lines. Perhaps if they advance towards you then you’ll be able to make use of Nimble or Fly to get behind their lines.
Keep them pinned down and unable to advance with a faster unit. If they call your bluff? Fire your fast unit across the board over to the main fight for the objectives you want to hold. Again they’ve spent a disproportionate amount of their army to take the one loot counter.
I find that many players assume that if you’re lining up to charge them over a loot counter that you will do that. They hang back for several turns waiting for you to commit, not wanting to abandon a defensive position. By the time they realise that you’re never going to charge them in their current position, it’s too late.
Ignoring Loot Counters
I’ll often make it less obvious that I’m going to ignore loot counters by deploying fast units as if to grab them. A hard hitting unit like a dragon and a chaff unit like gargoyles are absolutely perfect for this task. This forces my opponent to deploy opposite, or else my gargoyles will just grab the loot (best 80 points spent). A hard hitter like a dragon means that they have to commit something fairly substantial, or else the dragon can take it out and the gargoyles can still claim the objective. The dragon will then likely have flank or rear charges on the rest of their forces.
If they do deploy something that’s a threat to the gargoyles and dragon? Both units have the speed to redeploy elsewhere in the first turn. If they’ve deployed a slow unit or two there? It’s stuck redeploying over several turns while I defeat the rest of the army with overwhelming force.
Loot Carriers
Sometimes you need to decide which units to pick Loot up with and in the case of Push, decide which ones to give your loot to at the start of the game. High defence and high nerve units are the obvious choice. I usually have my defensive infantry formation (horde of infantry with flanks covered by regiments of infantry) so the horde in the middle is an obvious carrier since it’s so well protected.
Any unit which has support and backup is a potential loot carrier. You not only want the unit to hold fast against an enemy attack, but have backup to try and retake the loot if the enemy does manage to grab it, or at least force the enemy to overcommit.
I find that many players write off giving loot to their faster units (admittedly in some armies which are have all fast units there isn’t a choice). Don’t discount them. If the unit is properly supported, it can still keep hold of the loot token and (importantly) keep the enemy from grabbing it. If the opportunity presents itself then…
Remember that you can drop loot
You can drop loot before issuing a charge order. Doing so means that you can charge at full speed. I’ve made the mistake a few times of taking the Loot carrier’s reduced speed of 5 as their charge range and accidentally given my opponent an opening when they dropped the loot and promptly charge an exposed flank or rear. I think I’ve learnt from those mistakes and not done it again since, but your opponent may not have learnt the hard way.
Side note: It’s a bit tricky sporting wise if your opponent asks you what the speed of your loot carrying unit is. If you say 5 then you’re technically correct, but I’d feel it was a bit misleading if your opponent then positioned for a charge range of 10, only for you to suddenly drop your loot and be like “aha! I’m actually speed 6!”. On the other hand, you shouldn’t have to warn your opponent about the “dropping loot and reverting to full speed” tactic, and your phrasing could give away your intention. Something like “Speed 6 normally but they’re carrying loot at the moment so 5” is clear enough while not misleading your opponent.
Another popular tactic is passing the loot back. Before the FAQ ruling that Loot must be dropped entirely within a units footprint (which is a good ruling, trust me), players would drop the loot from one unit just barely touching the base, but also touching a unit behind. The unit behind would pick the loot up.
This tactic can still be done – you just have to activate the loot carrier first, drop the loot (probably towards the rear of the unit) at the very edge of the units footprint and then move so that your unit is no longer entirely on top of the loot (a counter-charge of 1” gives sufficient forward movement). Then a unit behind moves on top of the loot counter and picks it up.
This allows you to pass the loot from one unit which has taken a decent chunk of damage or is in danger of being routed to a unit behind that is relatively safe.
Don’t take it off the board
This is less of an issue since the CoK books have removed the ability to take Loot off the board, however if you’re playing with the core rules then don’t take the loot off. It’s a trap. Trying to take it off the board results in you getting rear charged the vast majority of the time. The only time this works is if your opponent doesn’t have the fast units to catch you, which makes for a particularly shitty game. I’d have thought that people playing the core rules are playing casual games for fun, so why ruin a casual game for your opponent?
Final Thoughts
Like all scenarios, you should approach loot based ones with a game plan. Which ones are you going to take, which ones are you going to deny, which of your units are you going to carry the loot with. However, because the Loot moves around the board (albeit slowly), you do need to be more flexible with your plan and open to change. That unit of gargoyles is hardly an ideal loot carrier due to its low defence and nerve, but if the loot carrier is likely to rout in the next turn and they can pass their loot onto the gargoyles then suddenly the gargoyles become a lot more appealing as a carrier.
Above all, defeat the enemy in detail. Don’t spread your forces out, trying to grab all of the objectives. Grab as many as you need to in order to win. Try and get your opponent to overcommit on the ones that you don’t need, giving you overwhelming force at the game winning areas.
