
I don’t know if I’ve ever mentioned this, might not have ever come up and I know I’m quite reserved about things I like, but I do rather like Orks in 40k.
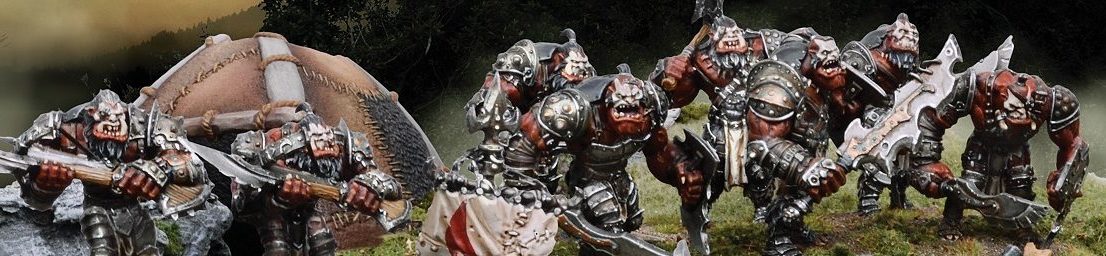
This love of a fictional race came about from a little game published in 1997 called Gorkamorka. A follow-up to the ever-popular Necromunda, Gorkamorka had Ork on Ork combat and laid the foundation for the modern interpretation of 40k Orks, transforming them from the multi-coloured clowns of 2nd edition into their brutal, barbaric horde style of 3rd edition onwards.

While by all accounts, the game sold very well and was popular at the time, it apparently failed to meet ridiculously over-optimistic sales targets, especially in international markets where GW had printed excessive amounts of translated rulebooks. A single expansion pack was launched, and then the game was promptly dropped by GW. Since then, it hasn’t seen any kind of re-release or nod by GW, beyond the rulebooks being available as PDFs from the old Specialist Games site a long while back.
It doesn’t have the fanbase of Necromunda (even before Necromunda’s relaunch), but the fanbase it does have, loves it, and for very good reason. It is just plain fun. It screams fun. It doesn’t take itself too seriously and you get some incredible moments in the game of vehicles smashing into each other and going out of control. The fact that the basic movement mechanic for vehicles is based on gambling with a penalty table if you fail the roll, leads to some amazing moments out of what would be a basic “move your vehicle up to 12 inches” mechanic in other games.
Add on the campaign mechanics, where your mob levels up, gains experience, buys new equipment and members, and your members and vehicles suffer debilitating injuries, you really sink into the narrative aspect easily.
When I saw that a relatively local store was going to start a Gorkamorka campaign, I immediately jumped on board.
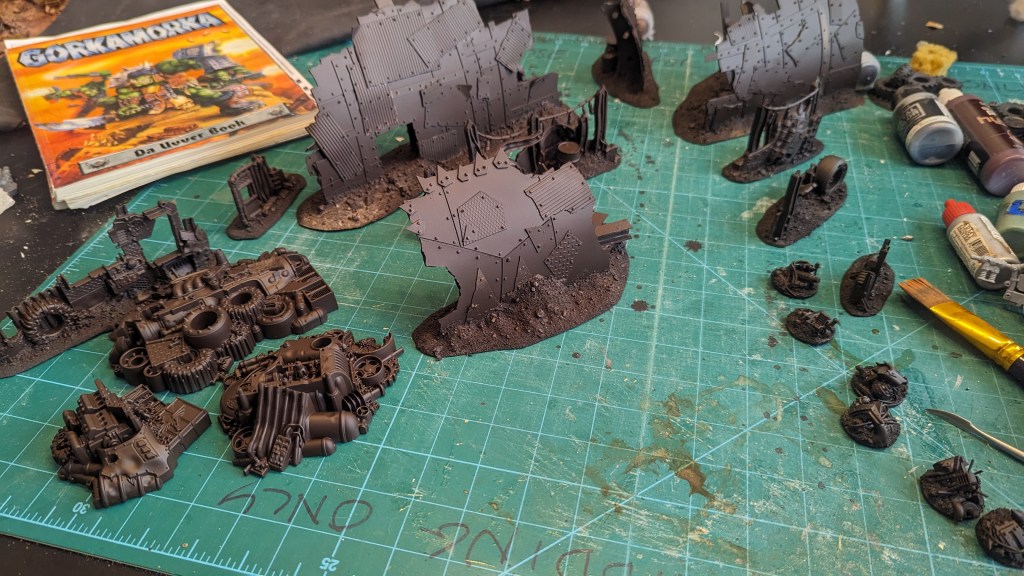
Da Mob
In Gorkamorka you control a single mob of Orks, with several models on foot and a vehicle or two to get them around. Throughout the course of a campaign, your mob earns teef to hire more boyz, upgrade their weapons and vehicles and your mob gains experience and skills.
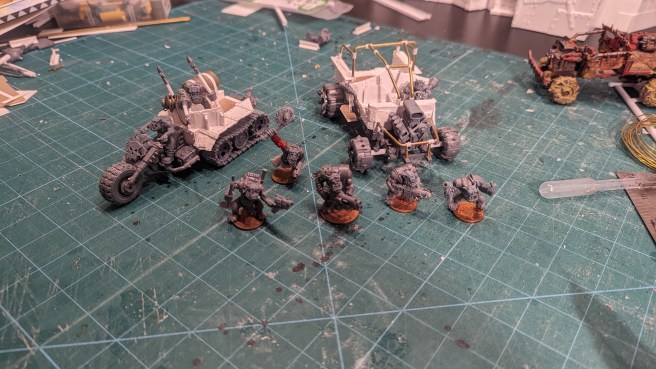
A nob, 2 meks, 3 boyz, 2 yoofs and a trukk and trakk. Should be a solid starting mob, but I’m a little light on weapons so will need to prioritise equipment and gubbinz over the first few games.
The Fort
The centrepiece of the Gorkamorka starter set was the cardboard Ork fort, which really is all the terrain you need to play GM. It’s used directly in several scenarios, such as rescue missions, but GM is generally a terrain-light game anyway (not that it’s going to stop me making several tables worth of terrain).
Annoyingly, I know I had one of them brand new and unpunched, but it went missing at some point over the years, so I decided to scratch build my own.
Let’s face it, I’d have scratchbuilt one even if I’d kept the original.
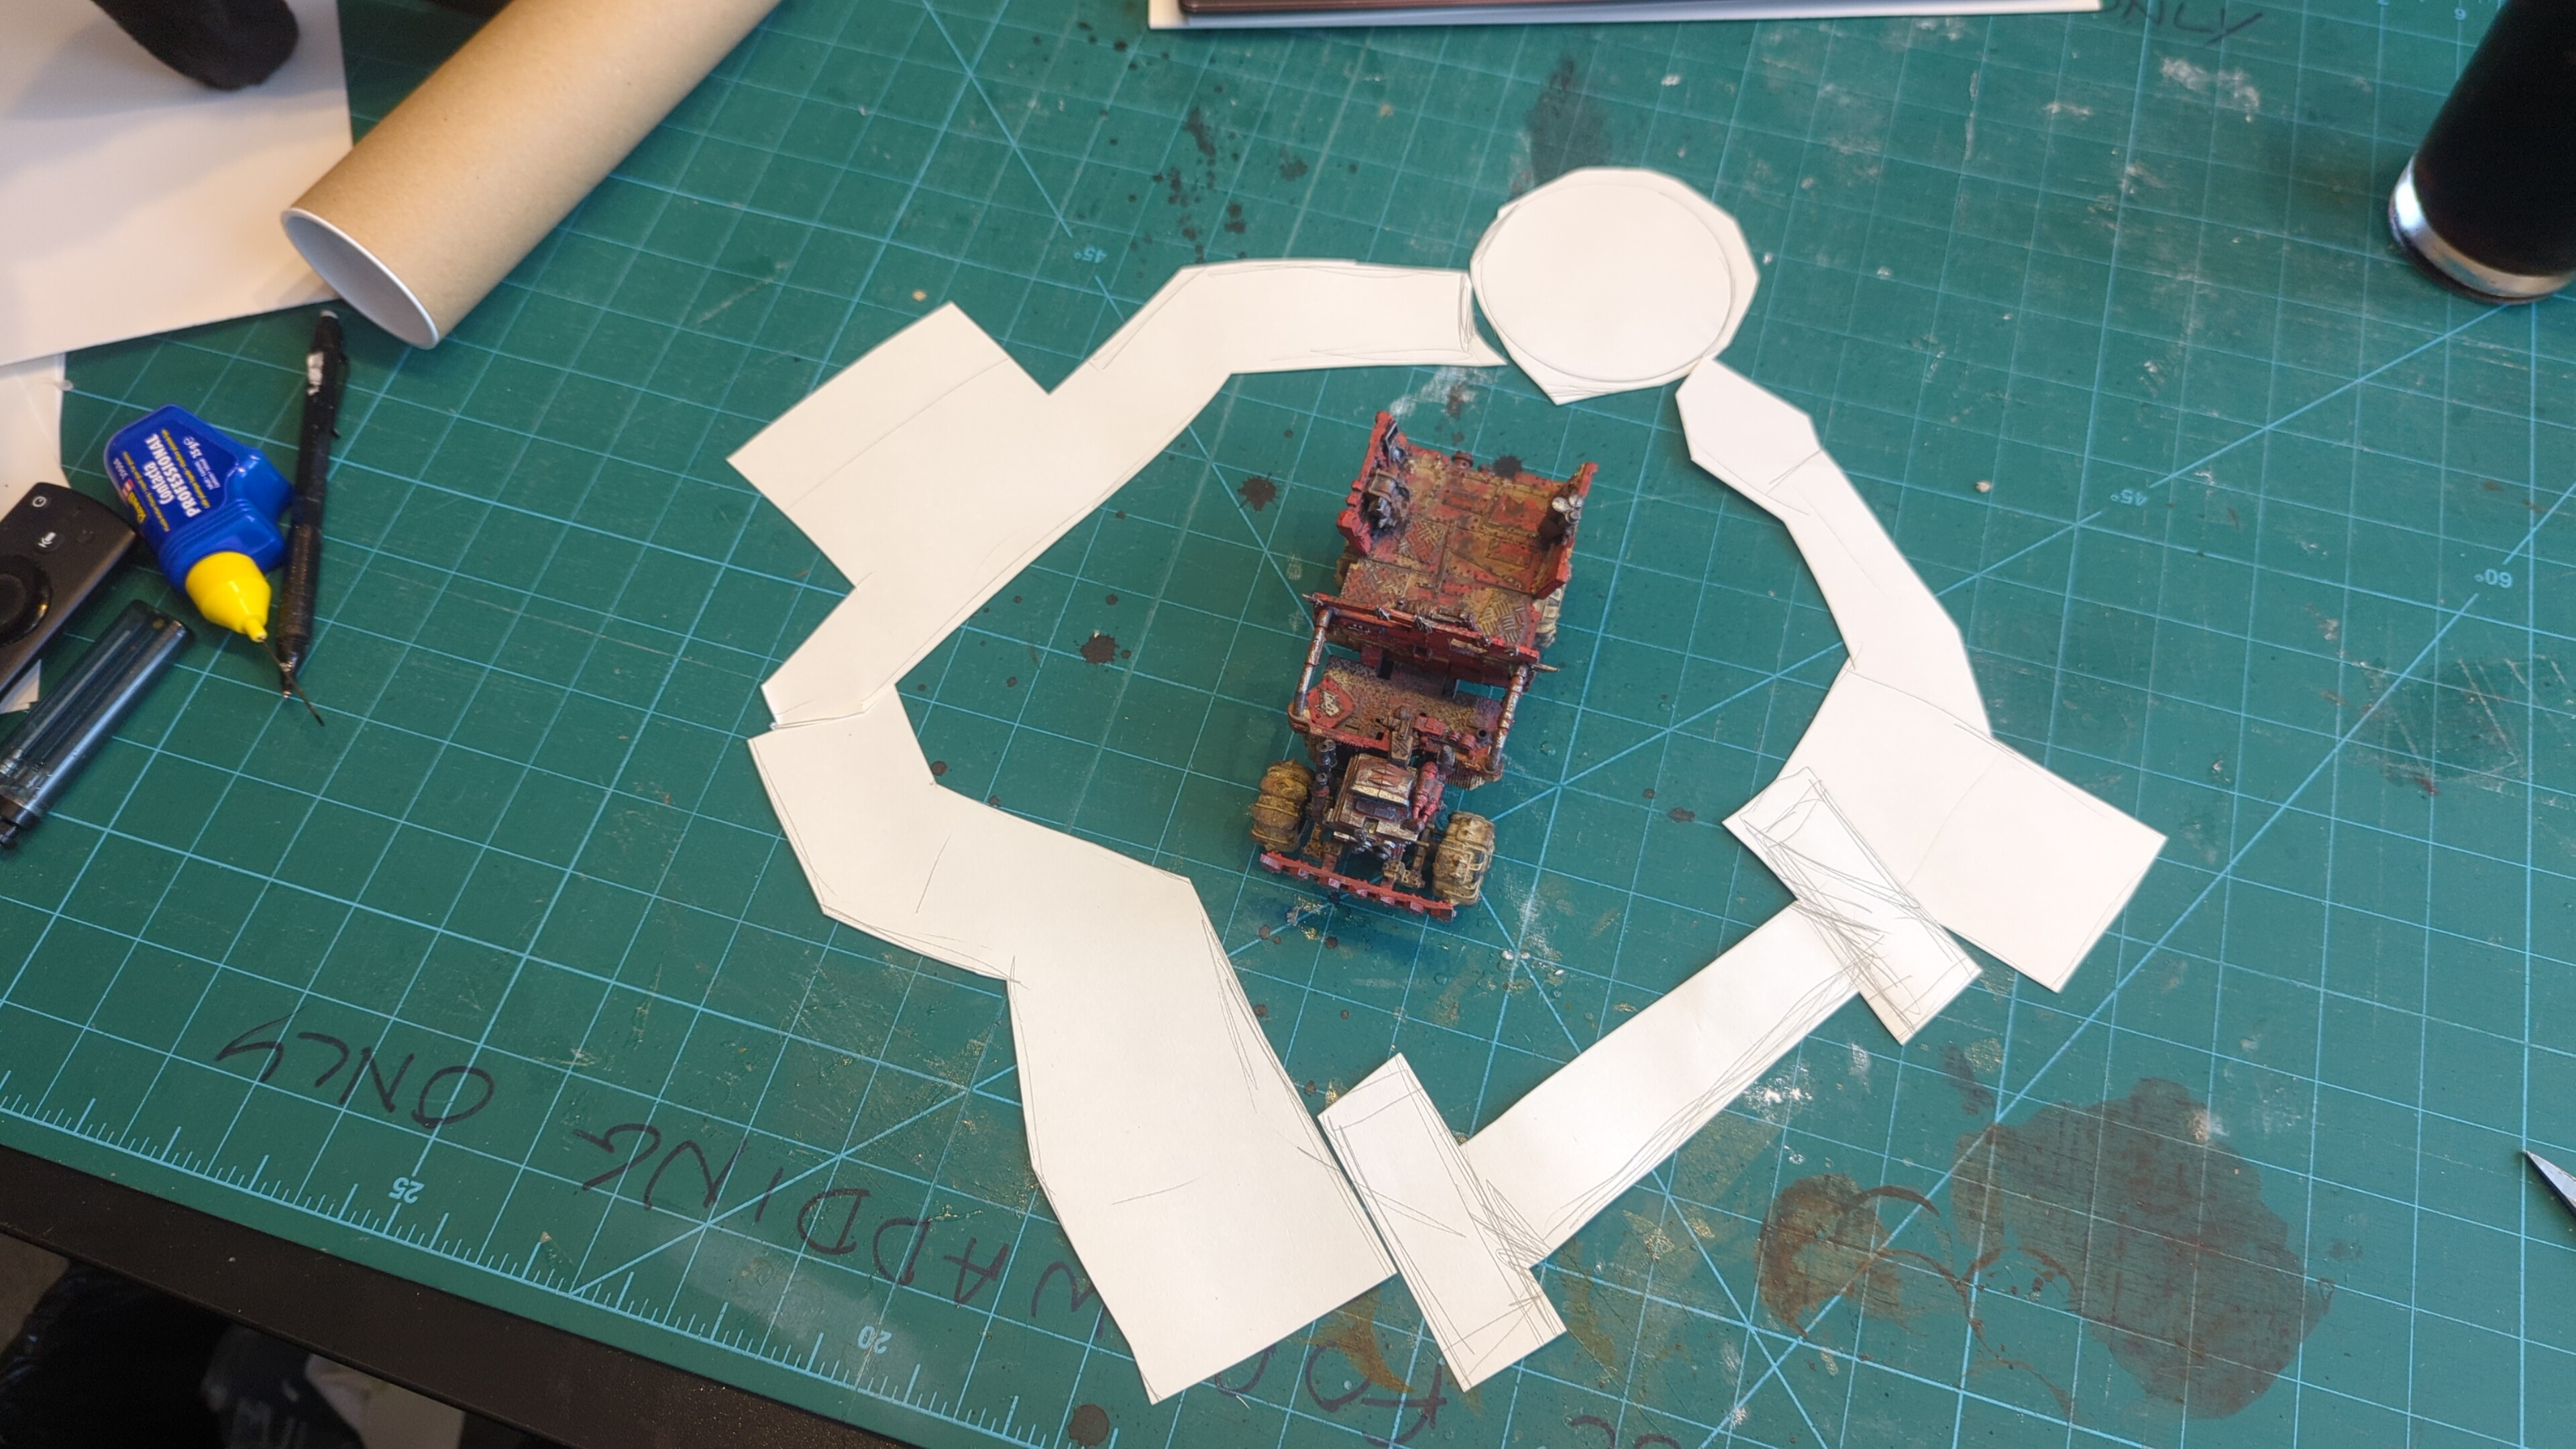
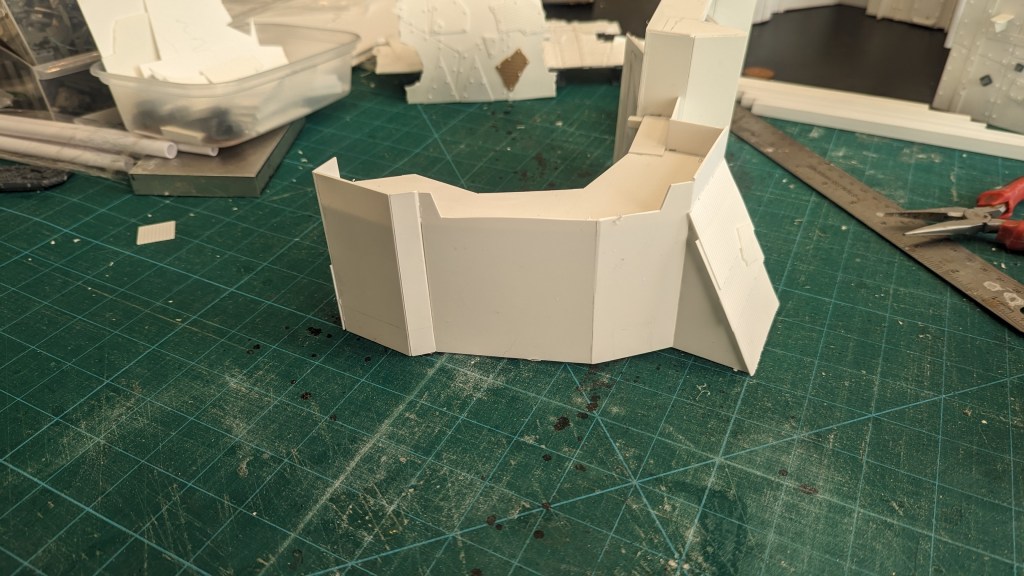
I started out by drawing a rough outline of a fort on a large sheet of paper, using a modern trukk as a size reference to make sure I’d be able to fit one through the gate and have a couple of vehicles inside the compound if needs be. I also decided to split the walls up so the fort was made up of 3 separate pieces which could be put together or used separately.
This was not the first time I’d built a Gorkamorka fort, though I’ve not got any pictures of the previous one. I did assemble the previous one all as one piece though. When based this made it nearly impossible to paint and difficult to use outside of GM. This time I decided to split the walls up into 3 different sections which could be put together to form a single fort, or put against the edge or corner of a table to represent part of a much larger fort.
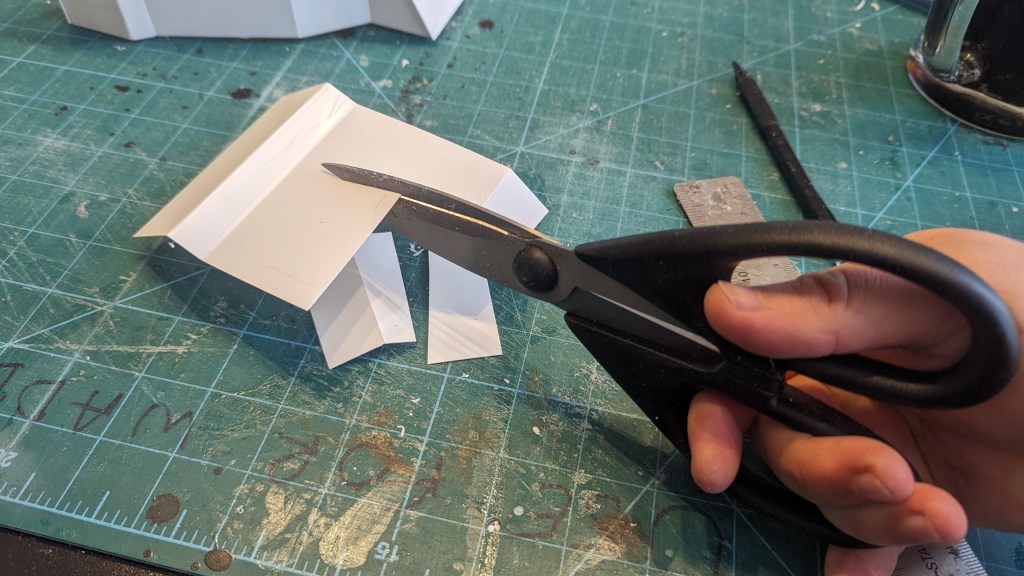
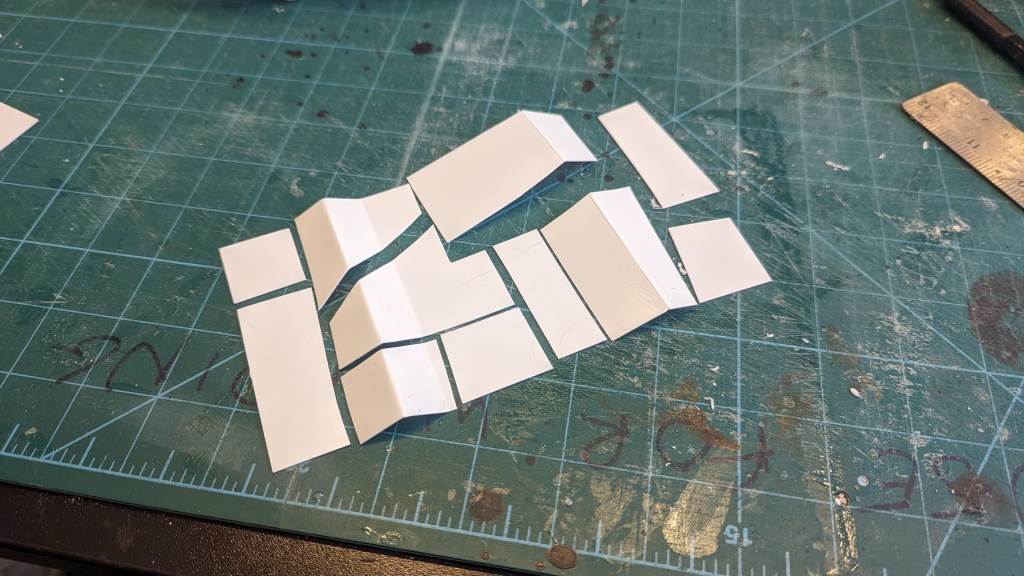
The next step was to cut the rough shape out of plasticard. I decided to use plasticard rather than card because it is much more durable and easy to detail with. When it comes to cost, it’s not too excessive. I ordered a new set of plasticard sheets for £20 and I had plenty left over at the end of the build.
There are several options for 3D printing, most notably the excellent modular fort STLs produced by MrModulork. I love MrModulork’s stuff and use his bits extensively in my conversions and scratchbuilds. However, I’ve given up trying to print vehicles and other large non-organic items since warping becomes a big problem with my resin printer, and several of the terrain pieces didn’t even fit in my print bed anyway. It would take weeks of slicing parts up to fit, continuous printing and repeat printing the failures to get a fort together.
Scratchbuilt with plasticard it is.

Lots of plasticard scraps on the table there.
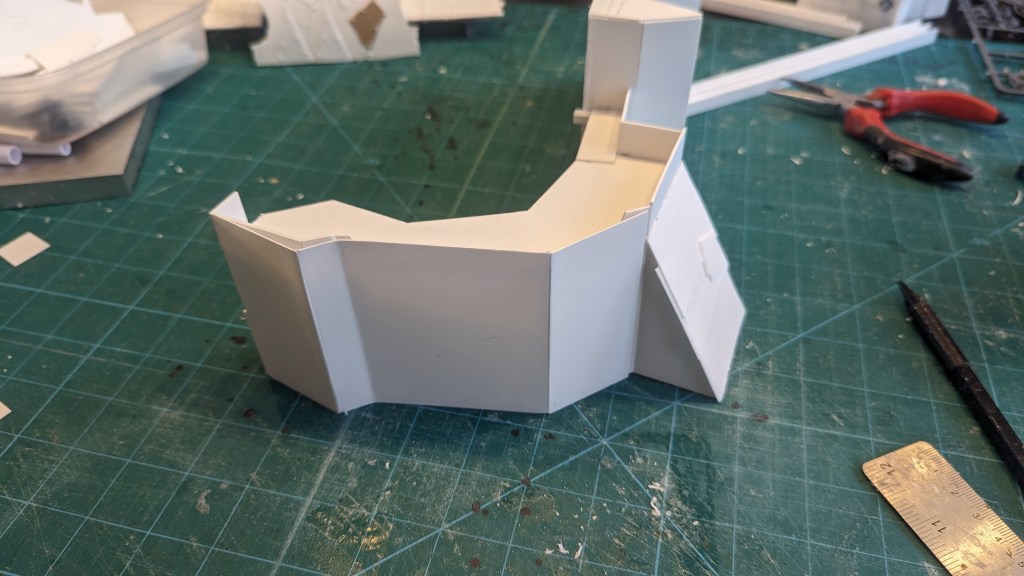
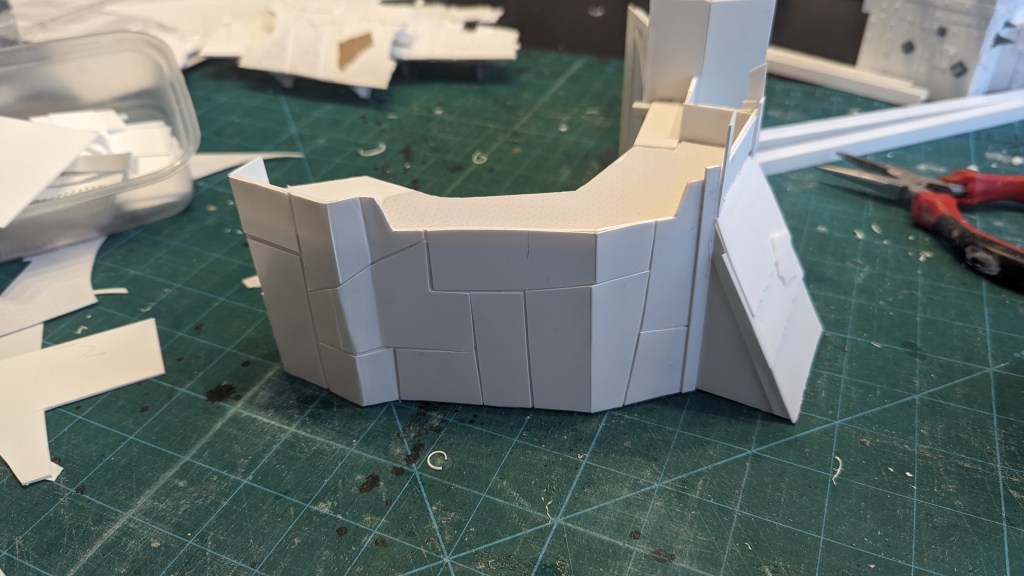
I built the basic rough frame of the fort first, putting the walls and floors in place but leaving out the detail (note that I have started detailing one section in the photo above).
At this stage I used exclusively 1mm plasticard for strength. While it can be tempted to go to 2mm thick plasticard, it’s generally unnecessary for Ork construction and it’s much harder to work with. Once you put the panels on, the thickness is fine.
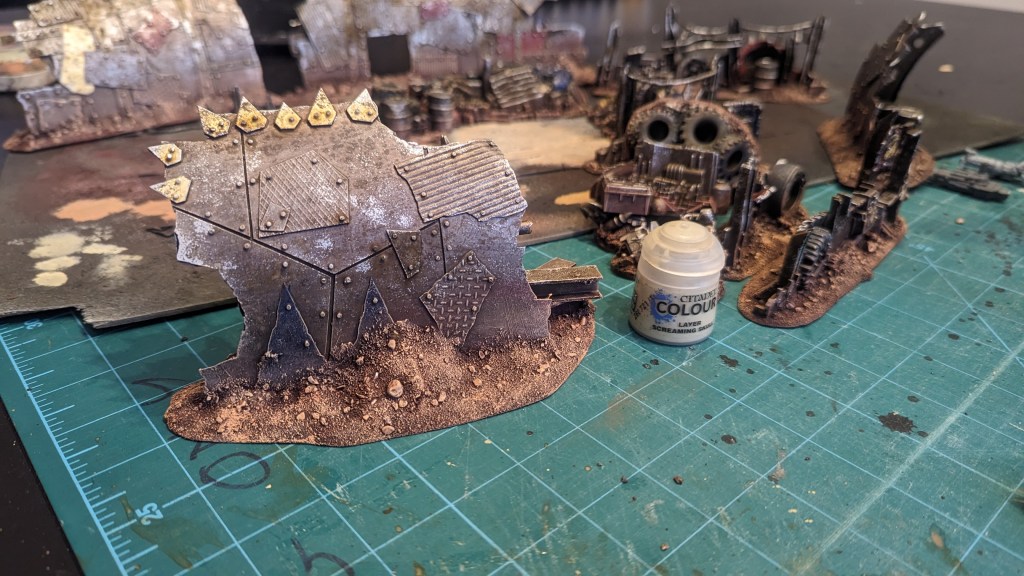
Panel Lines
Ork vehicles and structures have panels. I’m not talking about the random extra armour plates that get bolted on top, but the basic structure has an assortment of panels riveted together.
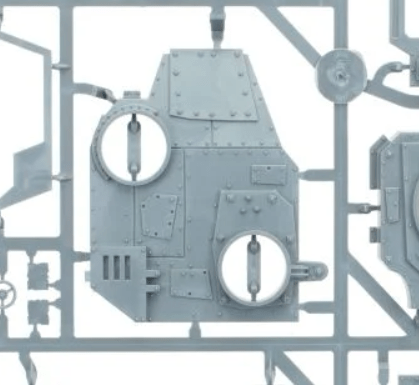
In my experience, it’s often the lack of these panels which make scratchbuilds not look quite right, and they’re pretty easy to make (just soul-crushing with the rivets).


Rivet as you go
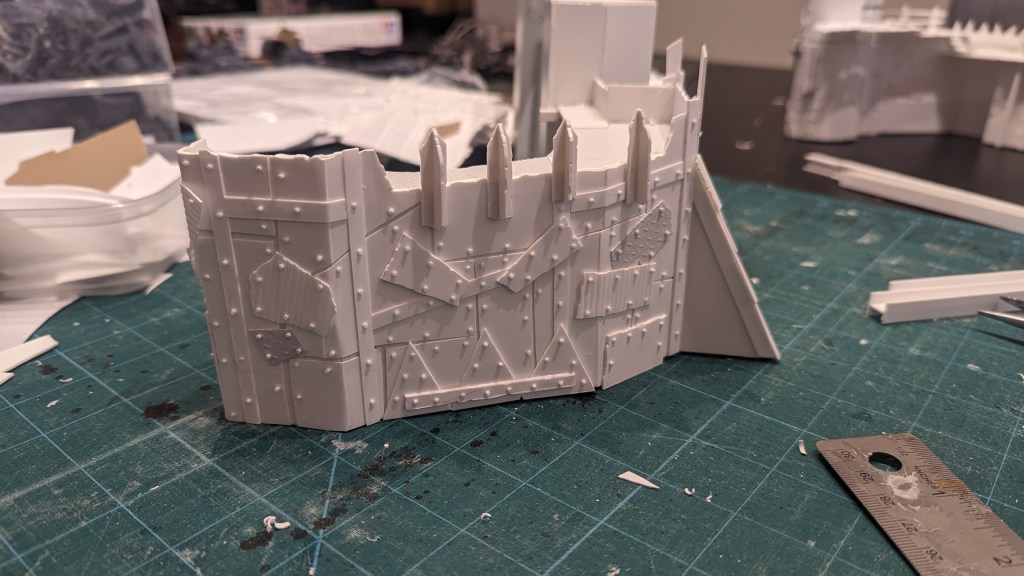
I worked my way around each of the three sections, completing the detail but also adding rivets as I finished each section, rather than leaving them all to the end.
Adding rivets to Ork scratchbuilds is soul crushing at the best of times, let alone rivets for an entire fort. It is the worst part of being a Mek, but without rivets, scratchbuilds just dont look finished. They’re as essential to scratchbuilding Ork stuff as basing is for miniatures.
I used a mixture of two techniques. The one I used on the walls and any non-playable surface was my usual method of slicing up plastic rod (1.3mm rod in this case) and attaching the rivets one at a time (yawn). For playable areas, I put on tiny drops of gel superglue. These create a small bump which drybrushing kinda picks up, but they don’t look as good as sliced rod. They are much better for balancing models on, however.
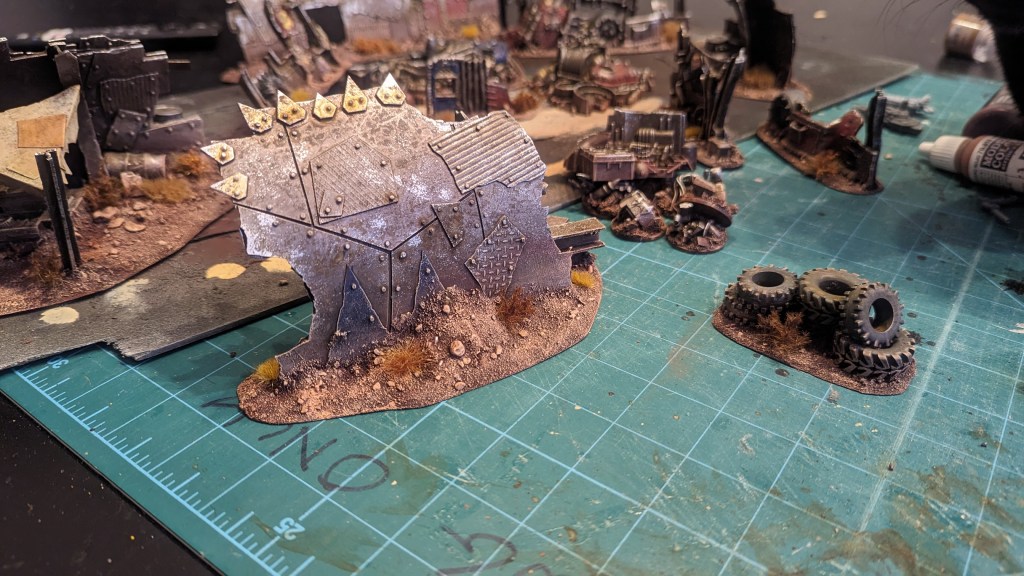
Basing
I based the fort on 3mm MDF, as I always do. Basing adds much needed strength for terrain and allows you to add a bit more character. I used a heavy duty stanley knife to cut the bases. While I have a scrollsaw which makes quick work of thin MDF, I wanted a bit more precision for this set and it was less effort to just cut them with a knife than go out to the workshop.
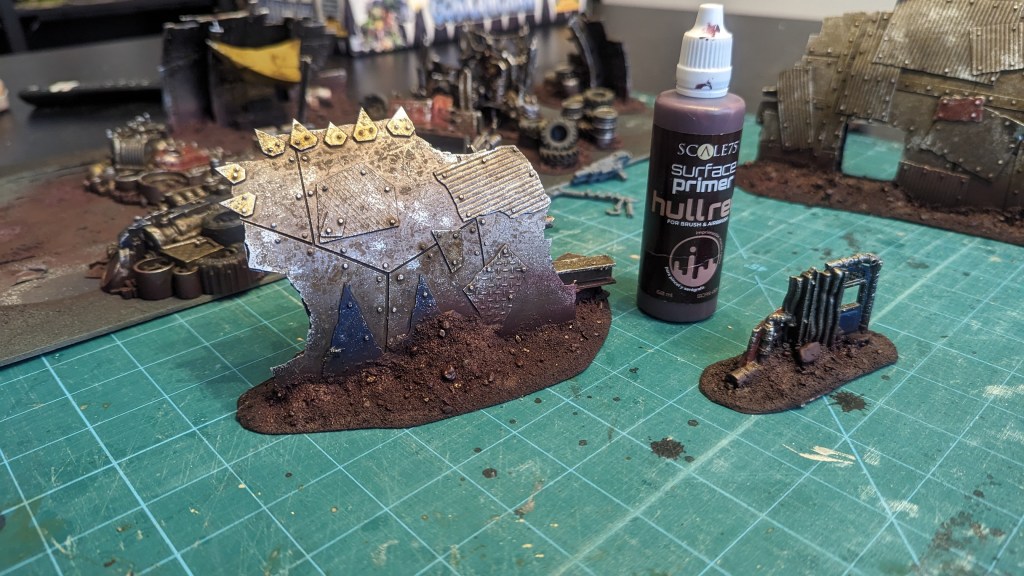
For the gateway, I put down a thin layer of milliput and ran various wheels through it to show tyre trackmarks. Elsewhere around the fort I added some Modelling Compound to show piled up sand against the walls. For ground texture I added my usual sand and gravel mix, sealed with mod podge.
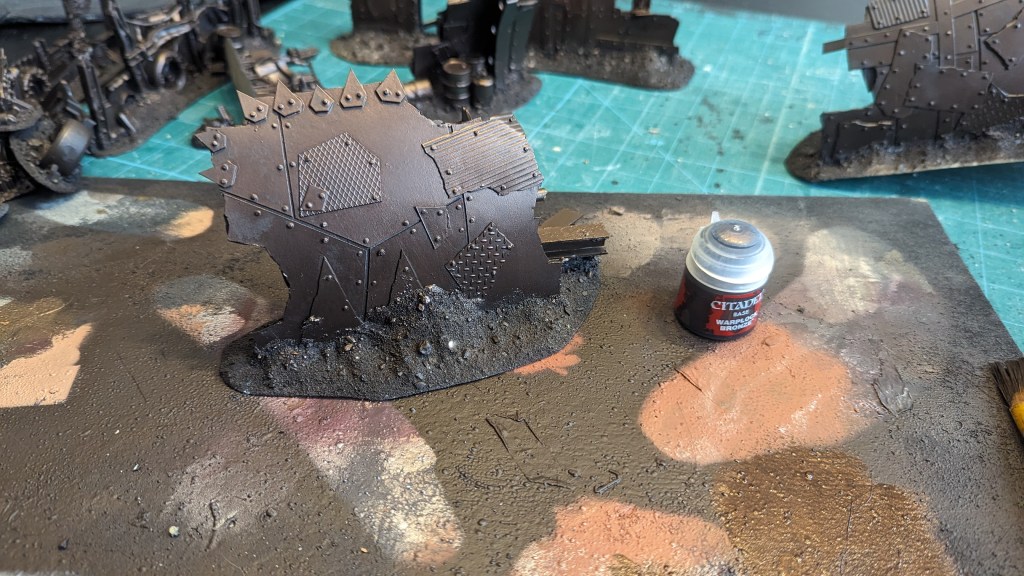
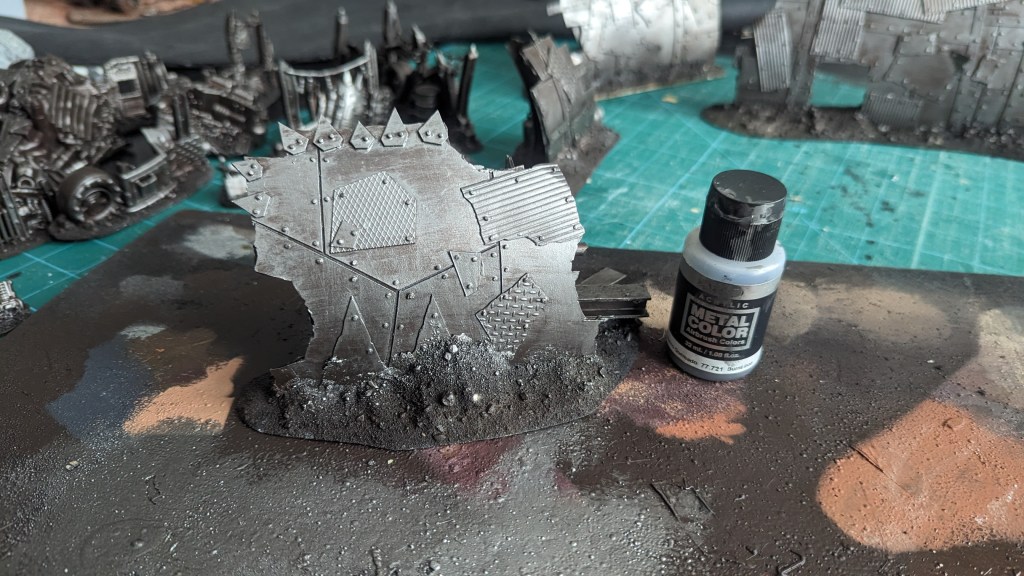
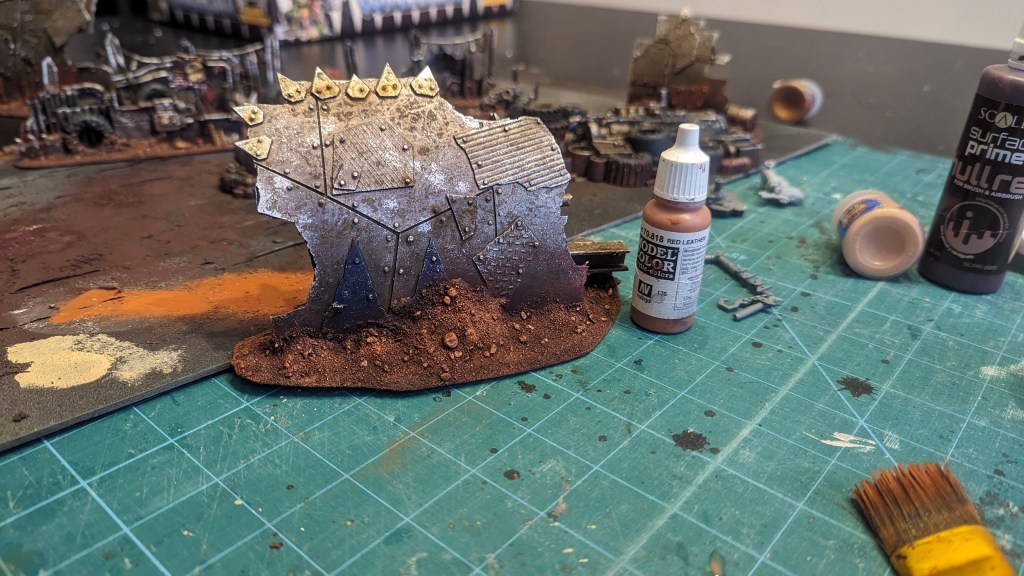
Painting
I didn’t get photos of the fort painting process, but it was the same as my other GoMo terrain pieces. Annoyingly I didn’t get a photo of one of the steps.
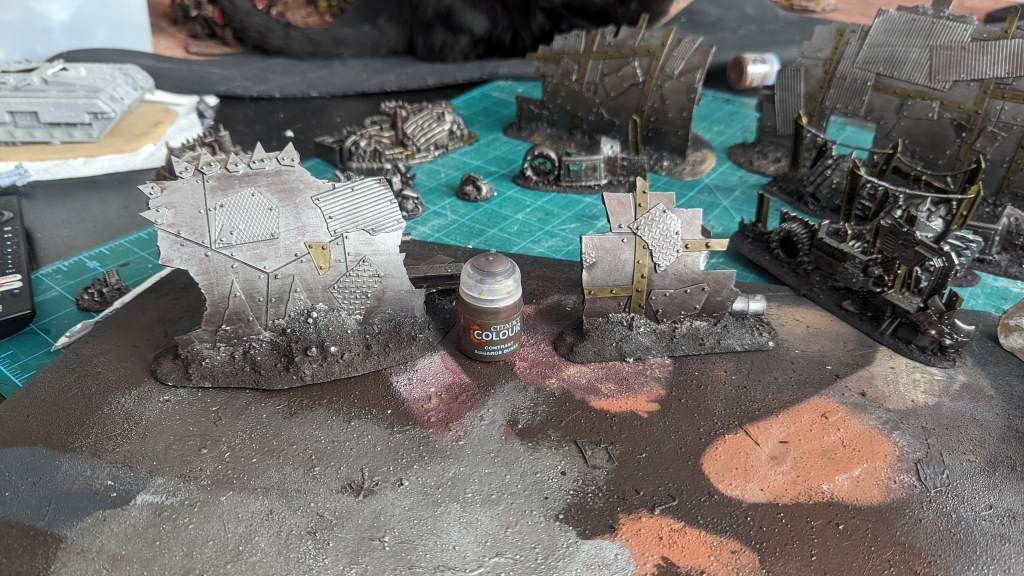
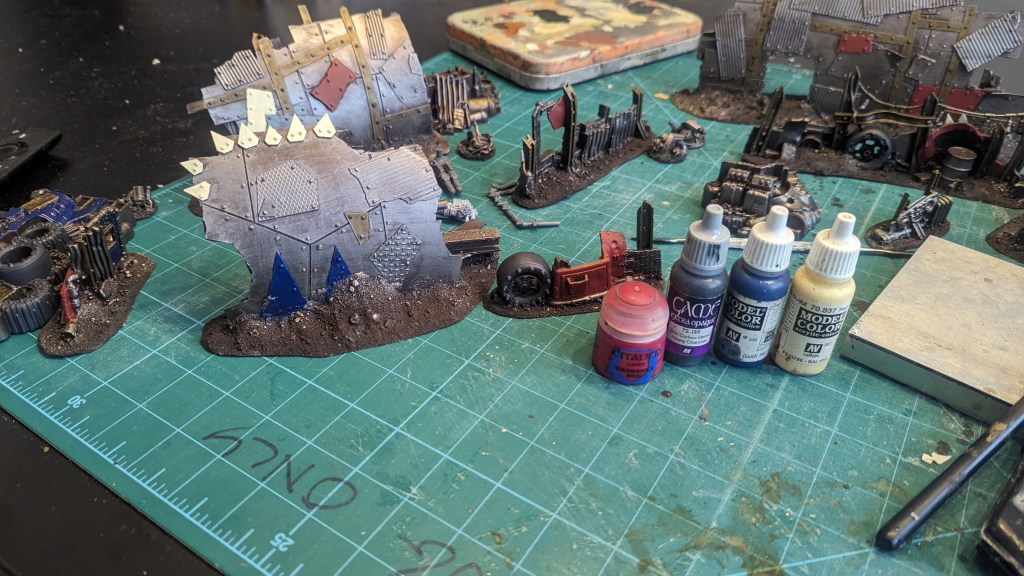


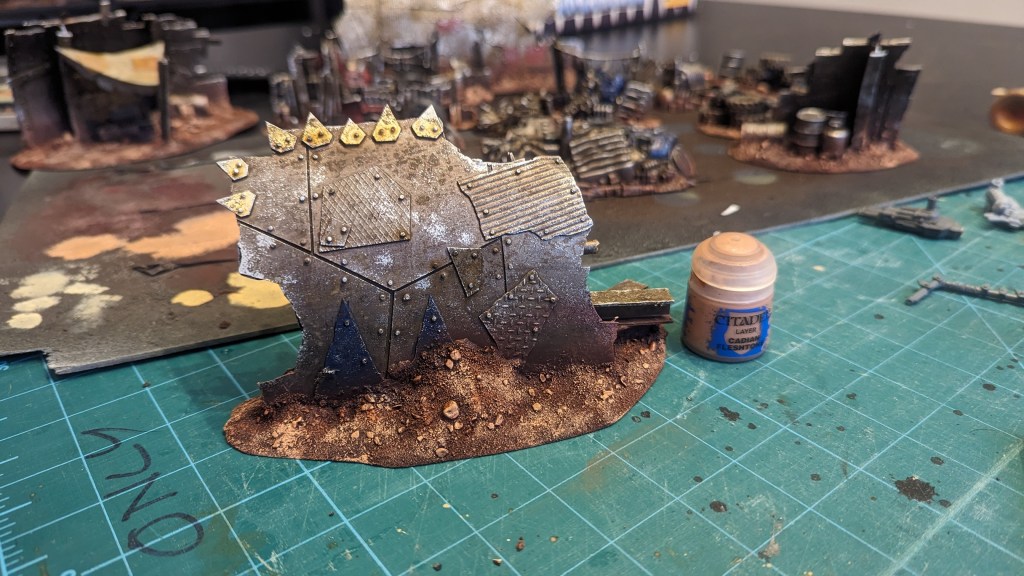
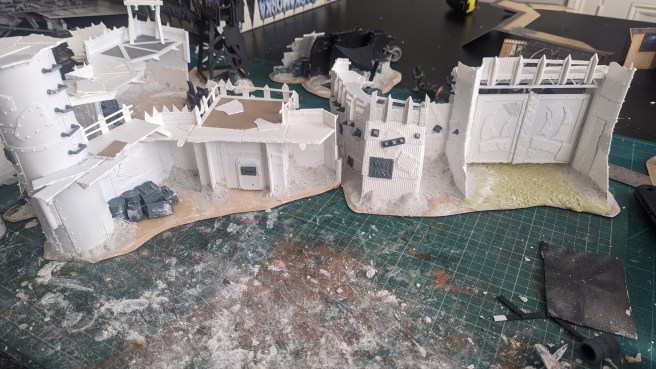
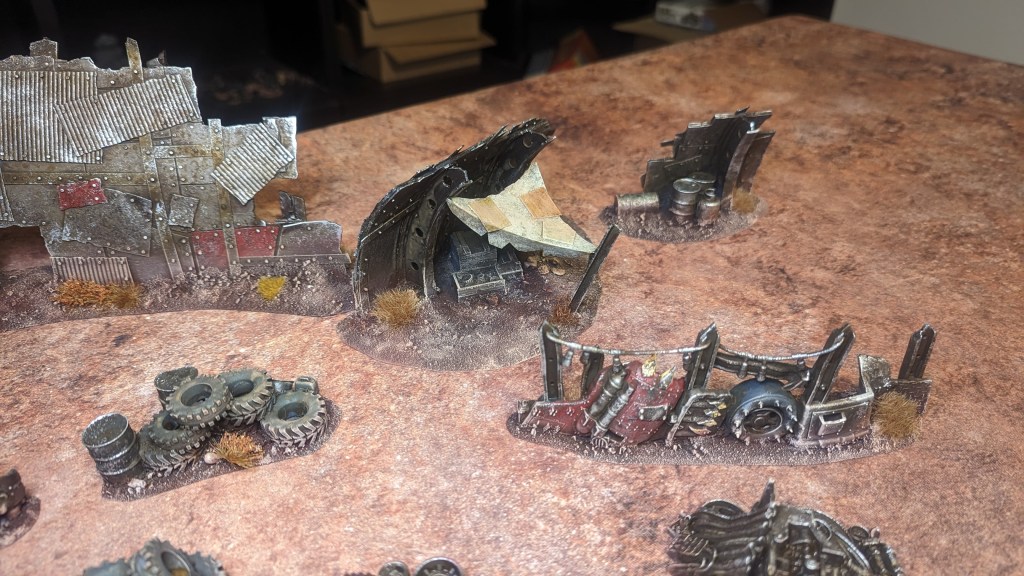
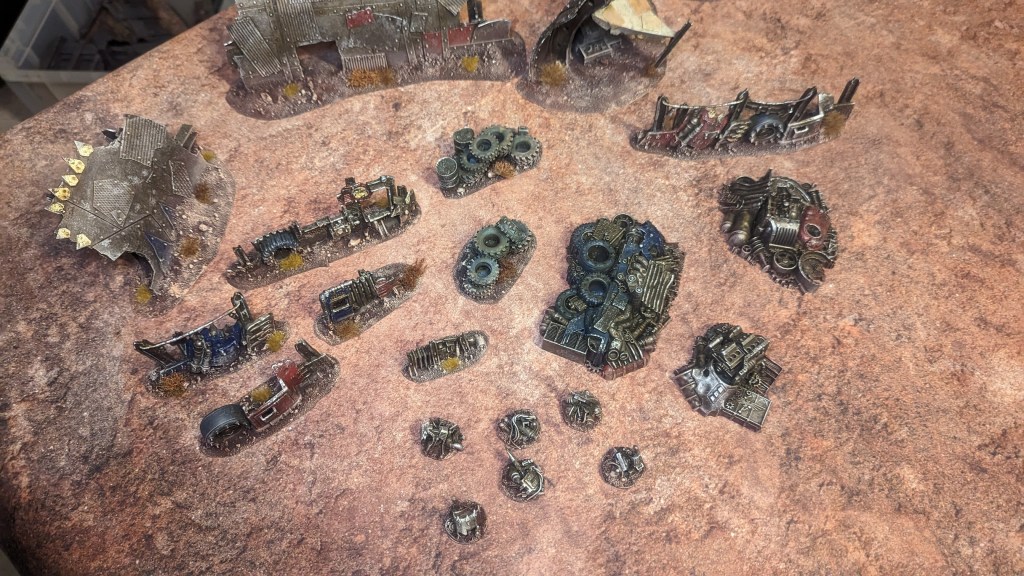
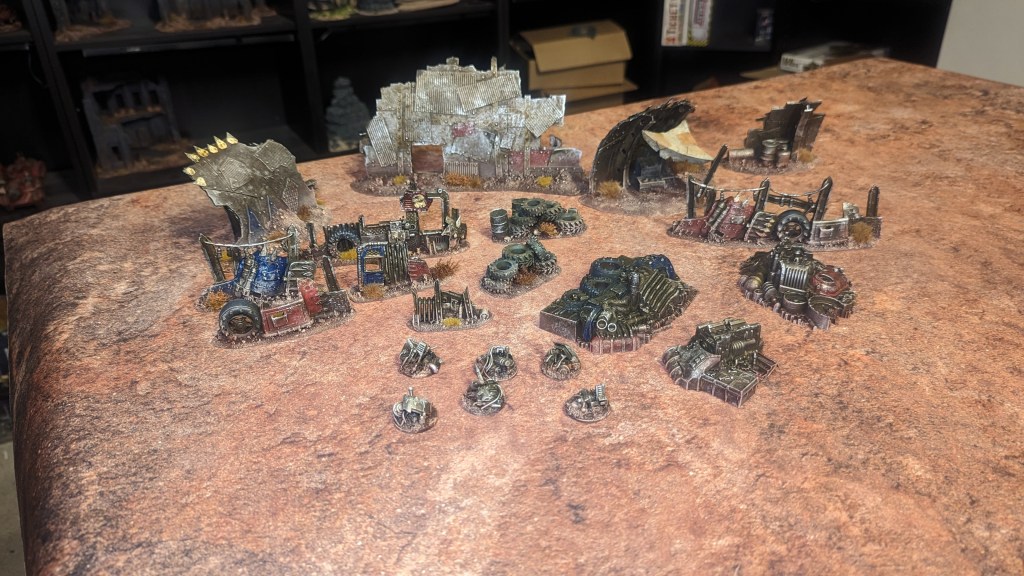
Finished
I used the same techniques to build and paint my entire Gorkamorka terrain set, to be used on my Deep Cut Studio’s Badlands gaming mat.
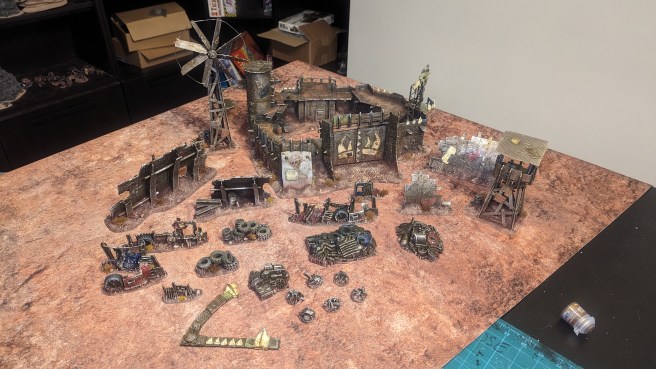
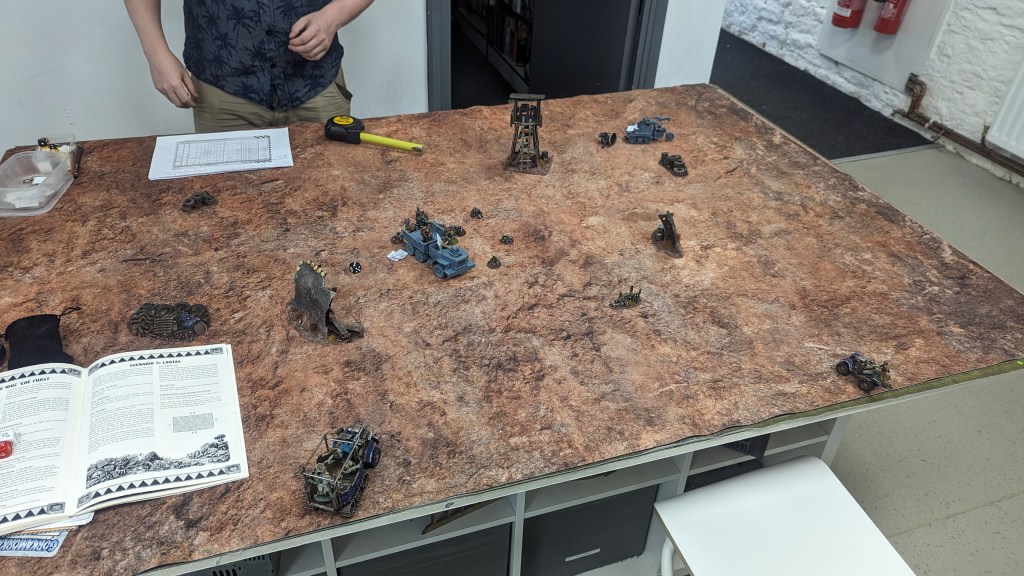
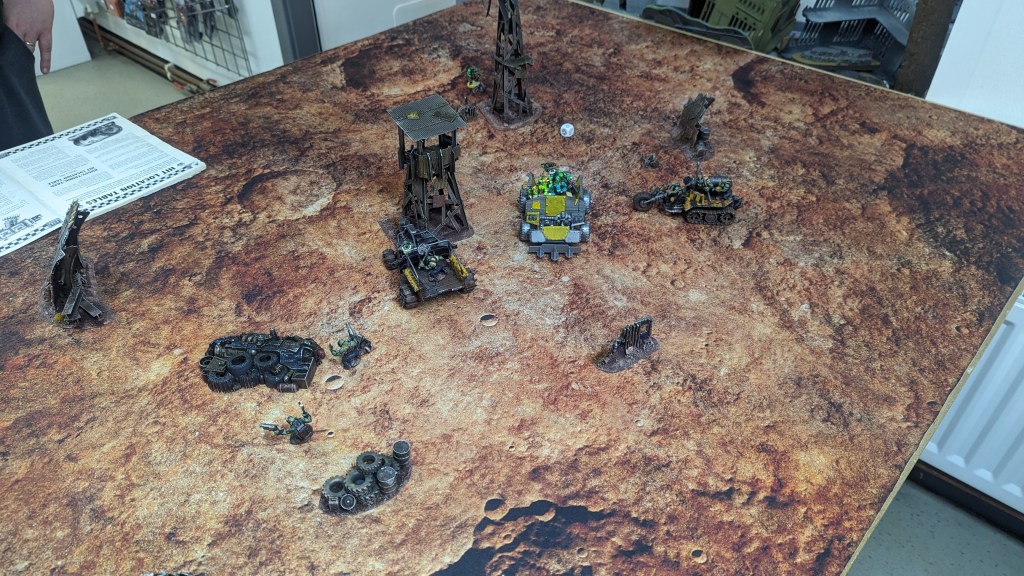
Our Gorkamorka campaign is well underway and we’ve been having some absolutely cracking and hilarious games. I’ve fallen in love with this game all over again. It’s even peaked my interest in its older and newer sibling of Necromunda, with a full set of Necromunda terrain on the cards next…

Brilliant post. I’ve never played the game but I bloody love Orks
LikeLike